So today I encountered a problem while serging some scarves for my internship: serging charmeuse is all well and good once it's started, but the feed dogs will not pick up a corner of the stuff to get things going!
Charmeuse is lightweight fabric with a satin weave, which means that it's got no heft to move things along, and slippery as all get-out. The scarves that I'm doing are cut on the bias, which makes serging a little more difficult, but I imagine that the principle is the same whether you're working on the bias or with the grain of the fabric.
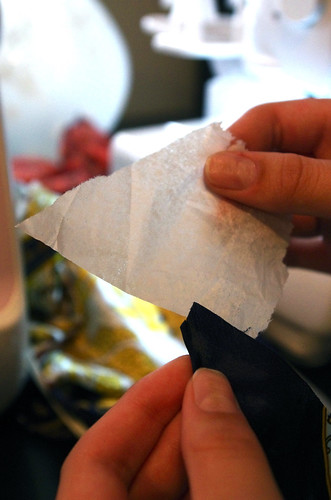
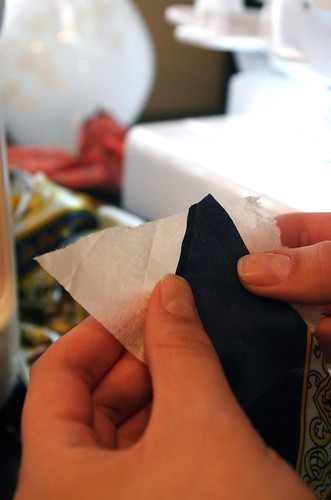
Here's one way I figured out how to fix it:
1. Make sure you have a right angle to start off with to keep things from getting snarled in the machine. I cut off the tip of this scarf so that the long point wouldn't get caught up in either the needles or the cutting knife.
2. Tear off a small piece of tissue paper - a few inches square is enough - and line it up with the cut edge of the top of your fabric. (And a word to the wise, aka not me: Make sure you've practiced on a swatch or two of fabric to get the tension right before jumping in! I'll use the excuse that I don't have much charmeuse lying around my apartment. Yeeeah.)
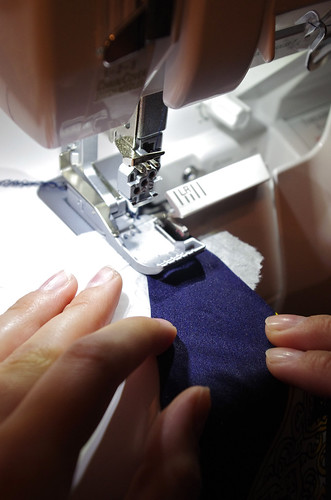
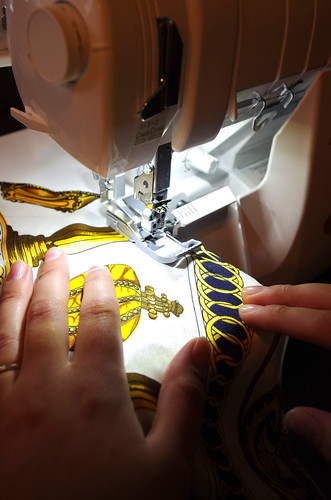
3. With the knife up, slide the two layers underneath the presser foot, far enough to catch on the feed dogs. I found it helpful to cut a quarter-inch notch down from the top edge of my fabric that would line up with the knife.
This is where the magic happens - the toothiness of the tissue paper gets caught on the feed dogs and pulls things along, and once there's more of your charmeuse in contact with the feed dogs, they can keep things going by themselves. They just need a little help to get started!
4. Serge your little heart out. No need to do anything special at the other end of the seam.
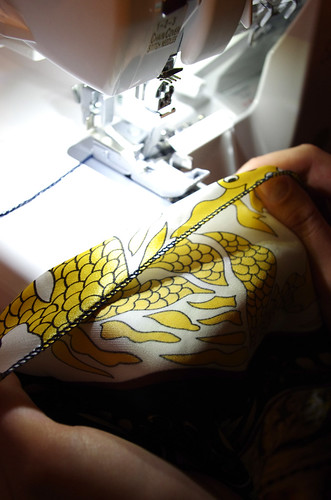
Ta-da! A lovely serged edge. I've been using a rolled hem with just 3 threads for this hem, which allows the fabric to move and drape without a stiff or bulky seam.
There is one last step though - right now there's a little flag of tissue paper where it shouldn't be.
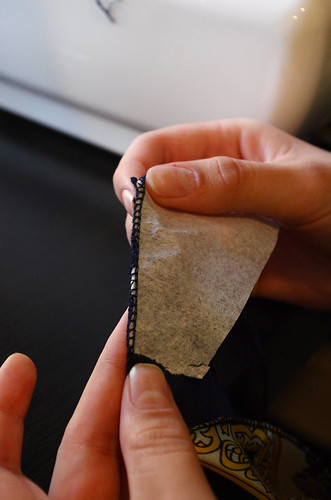
Easy fix!
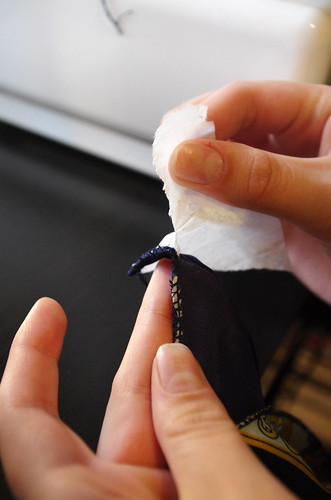
5. Gently tear the tissue paper away from the seam.
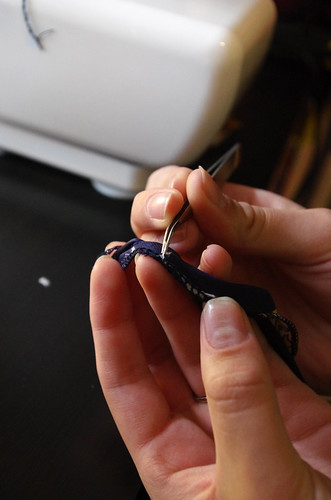
6. Also verrrrrry gently, take a pair of long-tipped tweezers (such as the one that was handily included in my serger's little toolbox!) and tease out the remaining tissue paper from the seam.
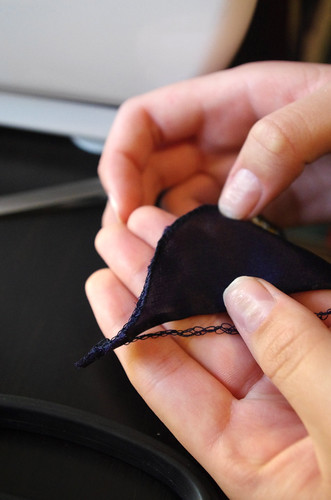
And now you're finished. For real this time.
And as always, there's more than one way to skin a cat! If anyone has any tips or tricks for working with difficult fabrics like charmeuse - serging or sewing - please let me know!