
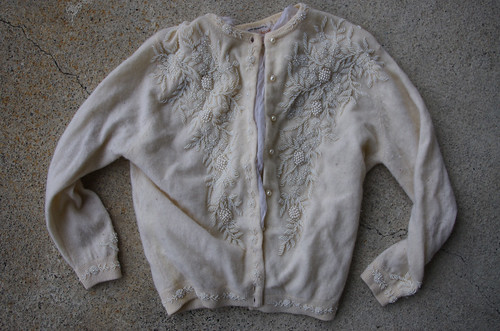
I've had this sweater for about three years; it actually single-handedly kicked off an obsession with little '50s-style beaded cardigans. I currently have something like six or seven of these types of sweaters, and I tend to buy them whenever I see them.
This one is a wool/angora/nylon blend, and it cost about $30 at a vintage shop. It works best when it's worn completely closed, so it's almost a blouse rather than a layer.
And it's been sitting in my repair basket for about a year because the underarm busted out while I was still living in Oberlin. A lot of my clothes to repair are still boxed up because there's nowhere to hang or store them, but I've been trying to go through and fix the things I can.
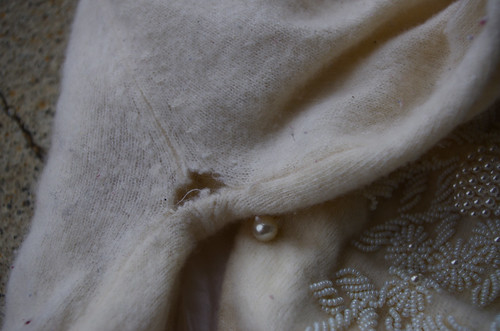
I had already started repairing the underarm when I noticed two little holes in the front, beneath some of the beading. Although you can barely see it when the sweater's on, I wanted to fix it so that the weight of the beads wouldn't tear the fabric further.
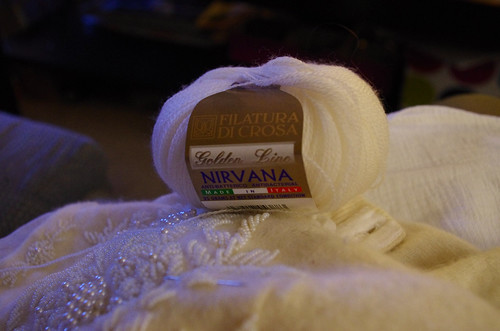
I used a laceweight merino I had in my stash, bought in Japan for about 400 yen per ball - that's something like five or six dollars, a great deal for 372 yards of super-soft laceweight. The color didn't match perfectly, but it's very close to the weight used in the sweater, and was also close enough in color to nearly disappear after I did the repairs.
I think it's important to think about the character of the fabric when doing repairs; for example, I would always choose yarn or woolly nylon to repair a knit like this, rather than a cotton thread. Yarn has the appropriate stretch to move with the fabric, where a stiff thread is more likely to cause more damage by cutting into the delicate fabric and create a patch that stays put when the rest of the garment moves and stretches.
I think it's important to think about the character of the fabric when doing repairs; for example, I would always choose yarn or woolly nylon to repair a knit like this, rather than a cotton thread. Yarn has the appropriate stretch to move with the fabric, where a stiff thread is more likely to cause more damage by cutting into the delicate fabric and create a patch that stays put when the rest of the garment moves and stretches.
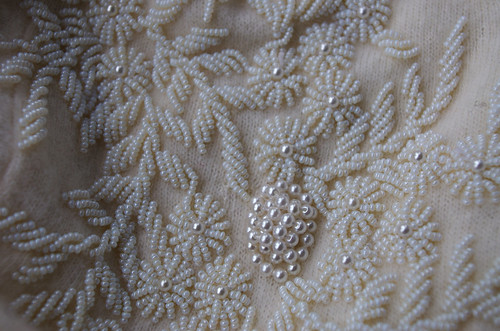
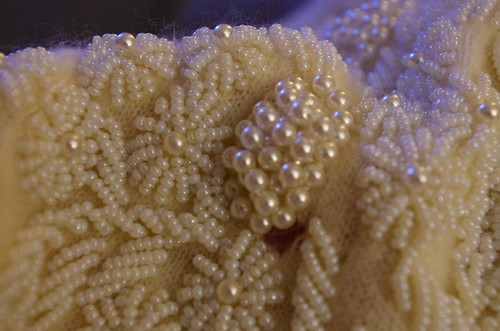
This is the beaded portion after repairs. Even though several rows of stitches had been torn out, I just secured the top line of stitches to the bottom, without trying to rebuild the missing fabric. On a knit this fine, that extra fabric wasn't too important, especially since it's partially covered by the beading detail. You can see a slight difference in the fabric where I stitched it up - it's right above the little cluster of pearls, and below the leaf on the left side of the cluster - but the most important part of this particular repair was stabilization, not aesthetics.
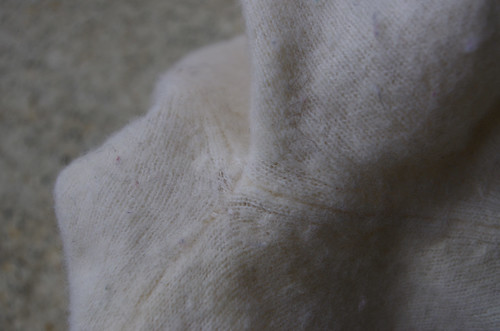
And here's the armhole, all stitched up. I used ladder stitch, also called mattress stitch in knitting, which zips up after sewing and makes your stitching invisible. This tear didn't go through the fabric uniformly to leave a clear line of free stitches, so I had to just make sure to go through as many free-floating loops as possible to make sure they wouldn't run after I stitched the fabric together.
So far it's holding up pretty well - I wore the sweater yesterday to school and felt very warm and stylish. Thanks, little '50s sweater!
No comments:
Post a Comment